Mac Instructions
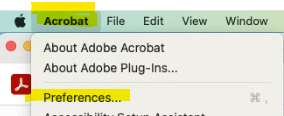
- In Acrobat, click the Acrobat menu and choose Preferences. 
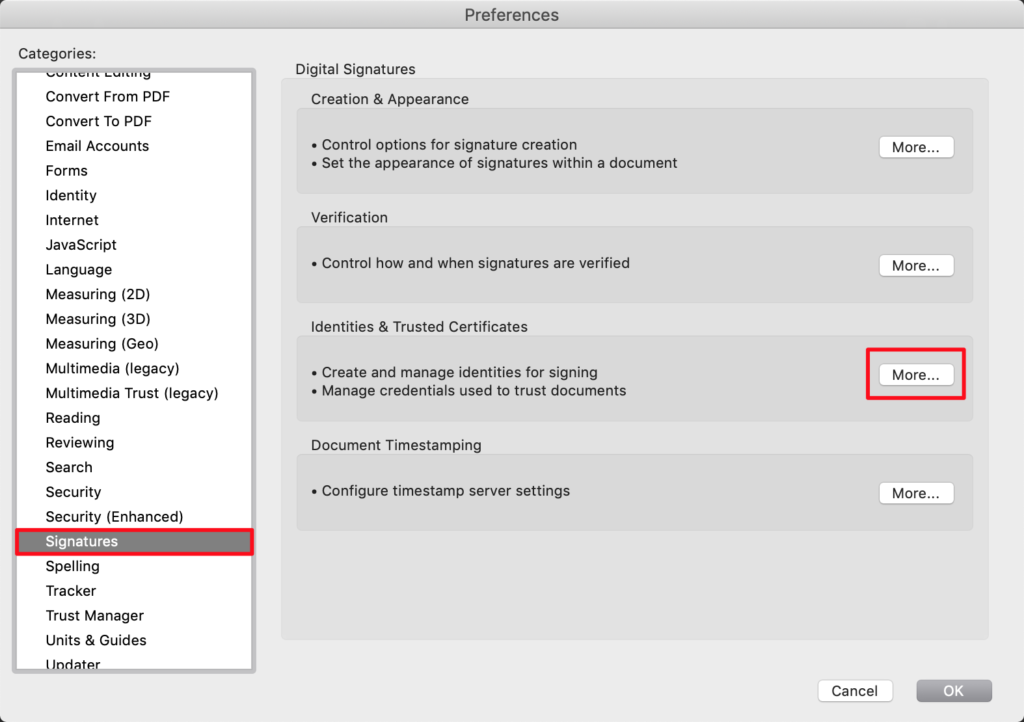
- Scroll down and select Signatures then on the right, click More by Identities & Trusted Certificates.
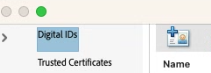
- Select Digital IDs on the left, and then click the blue plus button on the right.
-
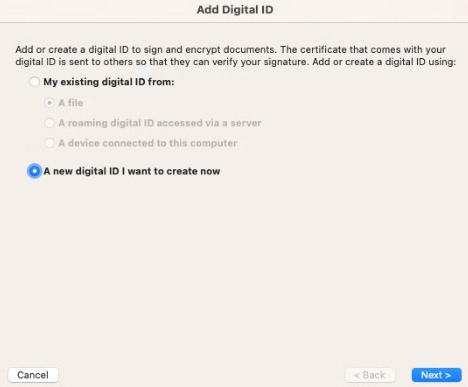
Select the option A New Digital ID I Want To Create Now, and click Next.
-
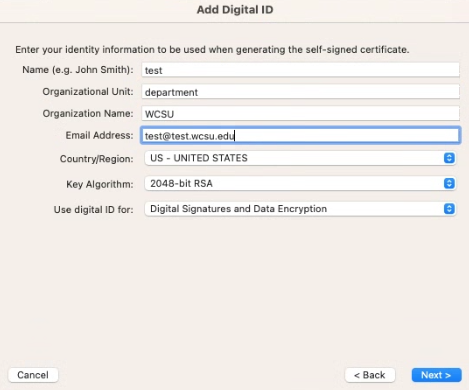
Fill in your name, department, WCSU, and email. Click Next.
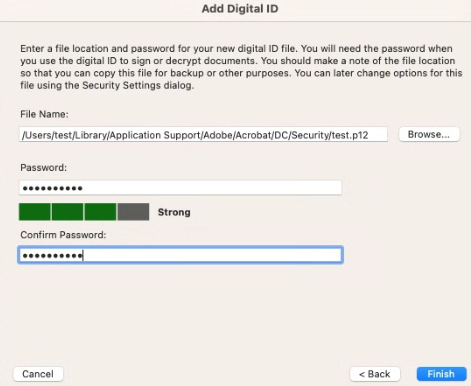
Enter a password, confirm that password, and click Finish.
-
- You can now exit out of the Digital ID and Trusted Certificate Settings window and also exit the preferences window.
Windows Instructions
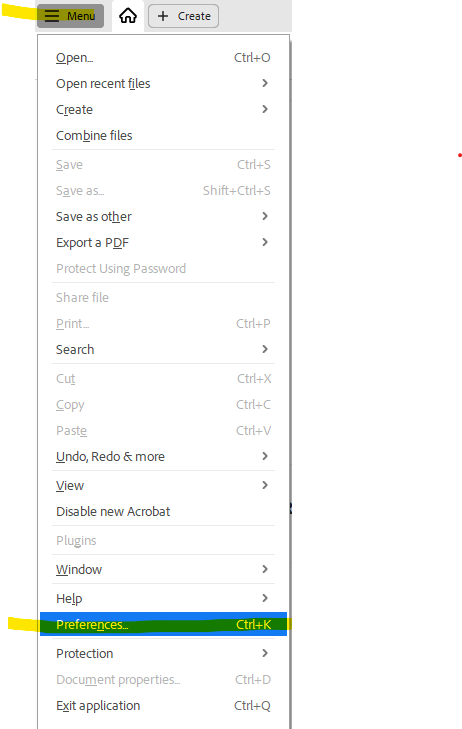
- In Acrobat, click on MENU in the upper left corner and then click preferences:
- Click Signatures on the left hand side:
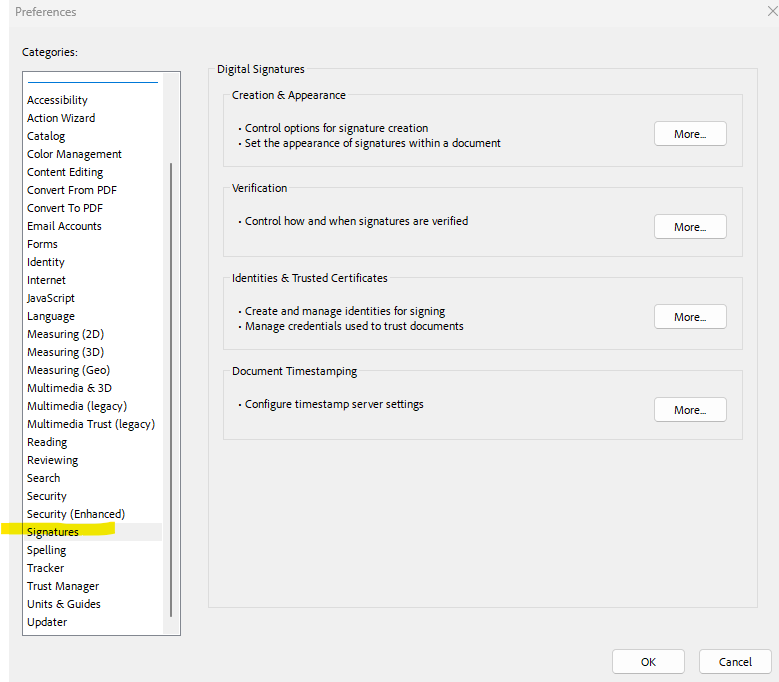
- Click More button under Identities & Trusted Certificates:

- Highlight Digital IDs and click the blue plus to the right:

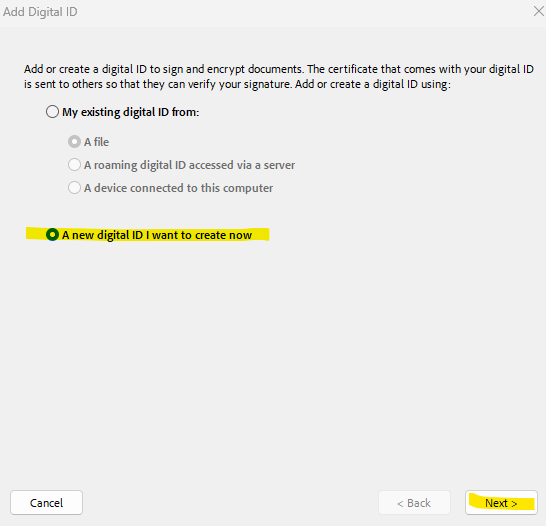
- Bullet “A new digital ID that I want to create now” and click Next:
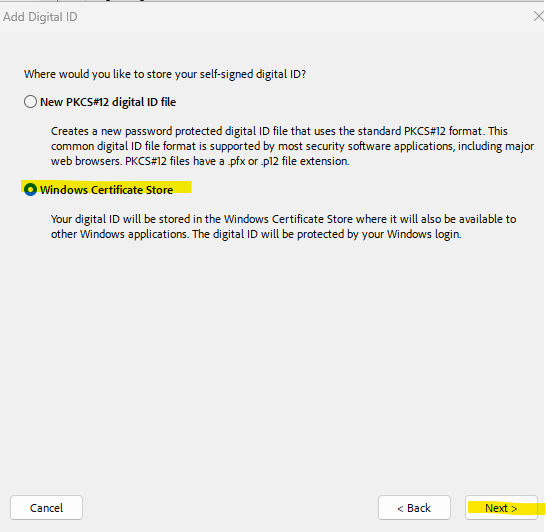
- Place a bullet in Windows Certificate Store and click Next:
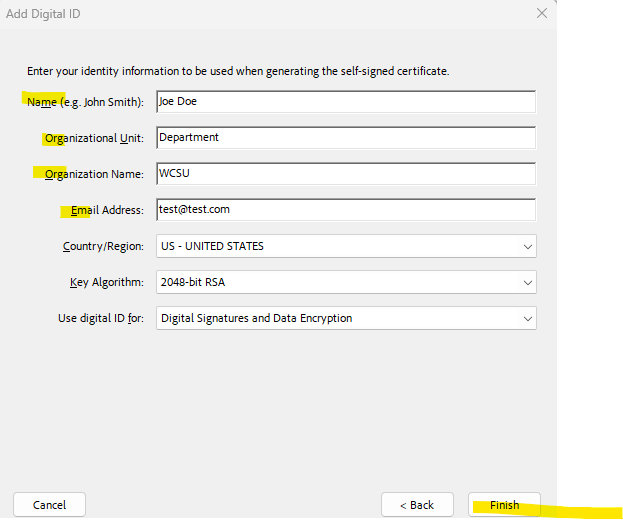
- Enter your name, department, university, and email address and then click Finish:
- You can now exit out of the Digital ID and Trusted Certificate Settings window and also exit the preferences window.
How to Use the Digital Signature Once It Is Created
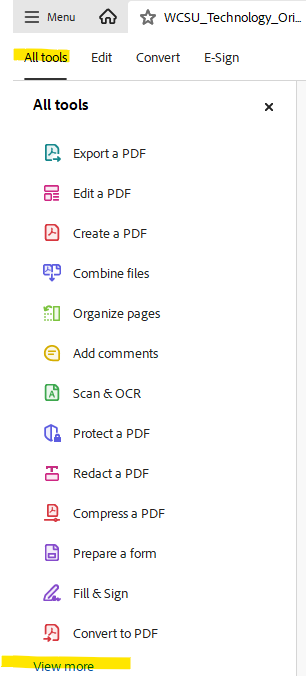
1. Open your pdf and click on view more within All Tools on the left hand side:
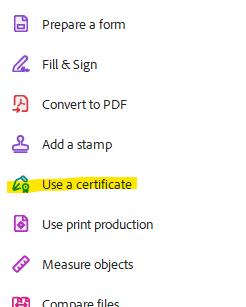
2. Click Use a certificate tool:
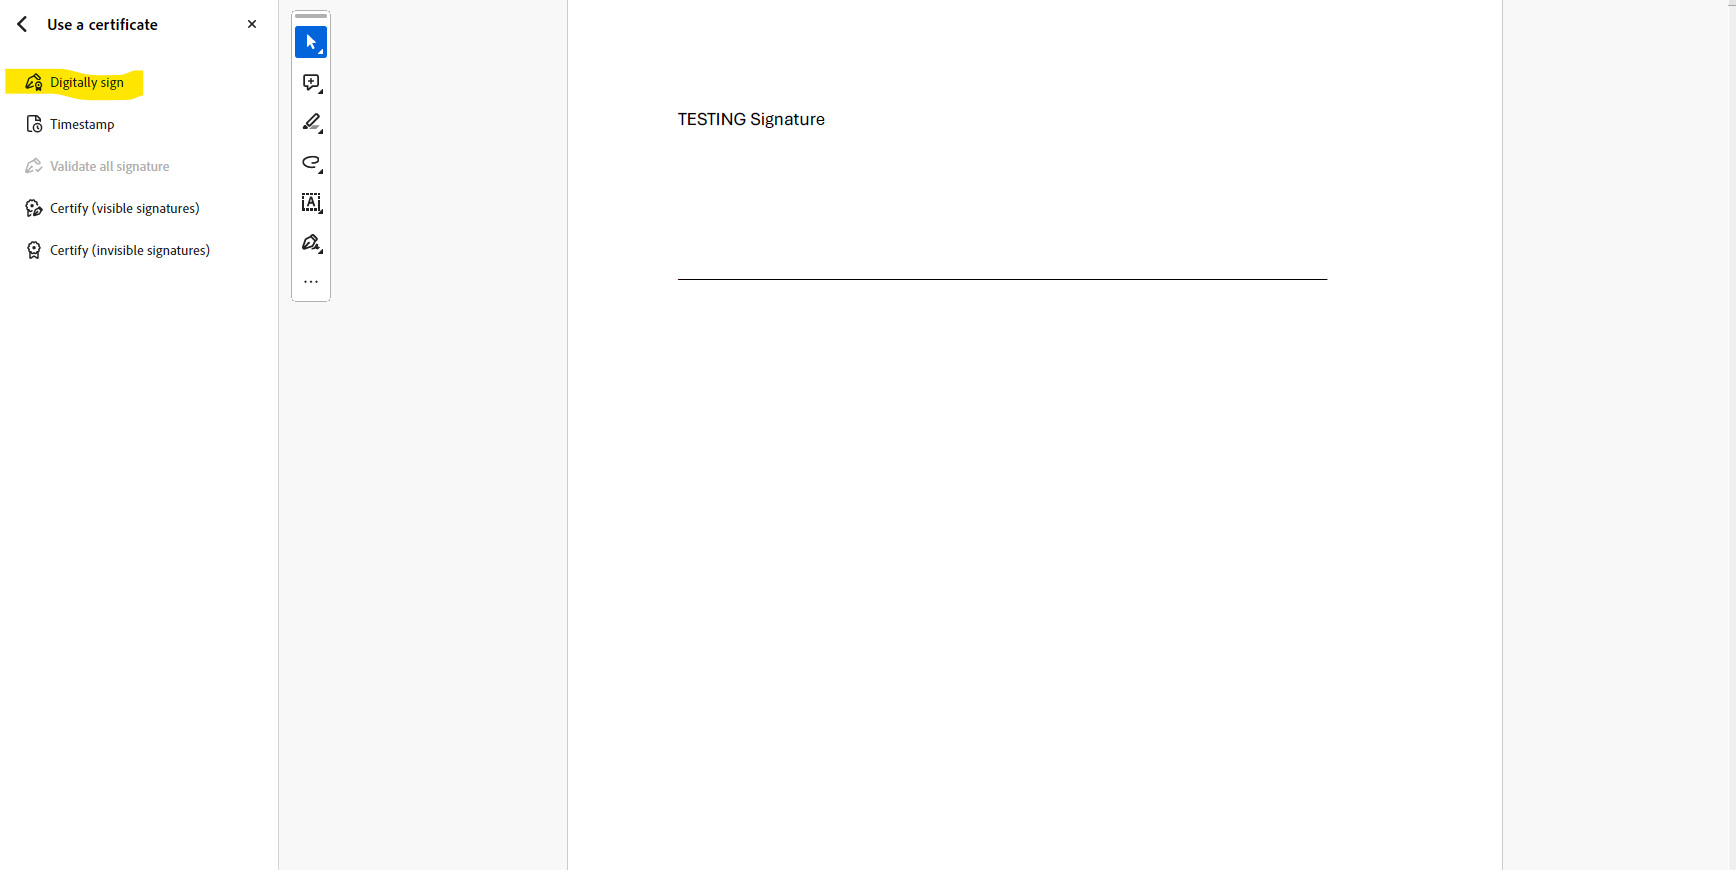
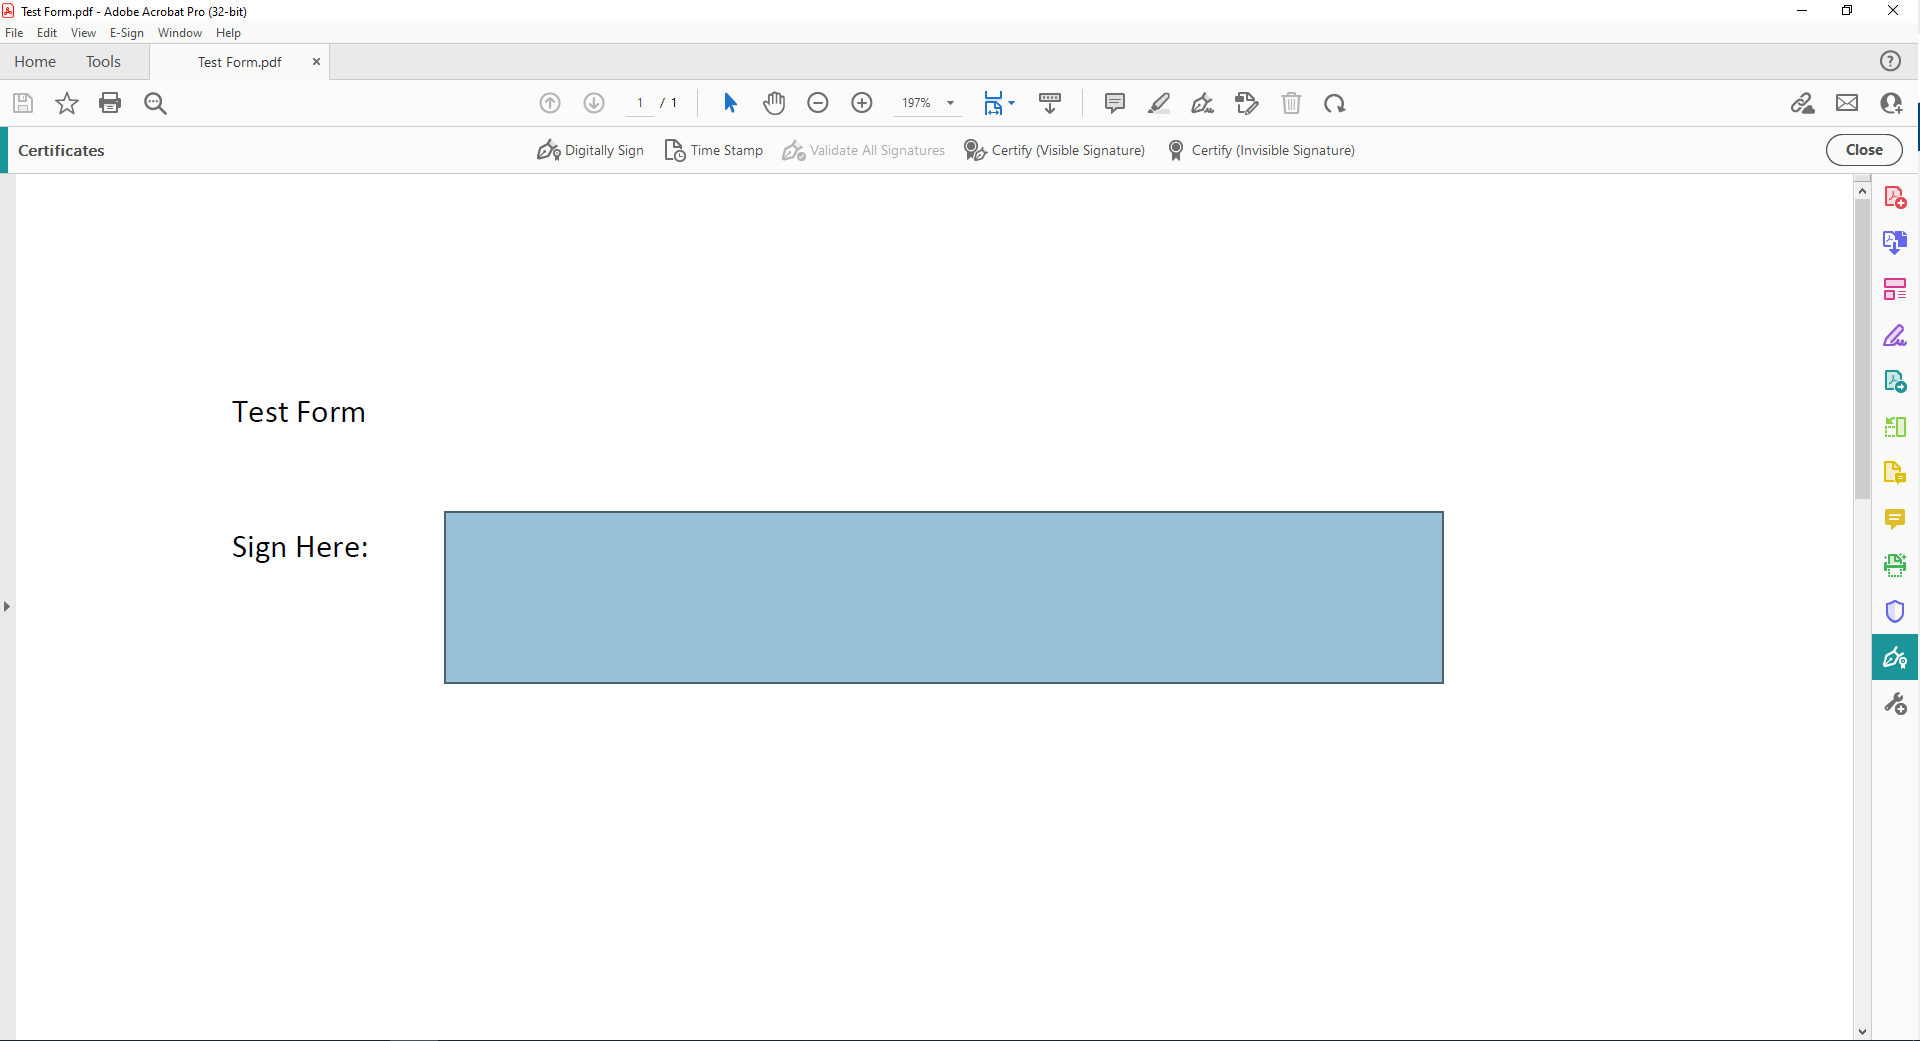
3. Click on the Digitally Sign icon on the far left bar:
2. Click OK:
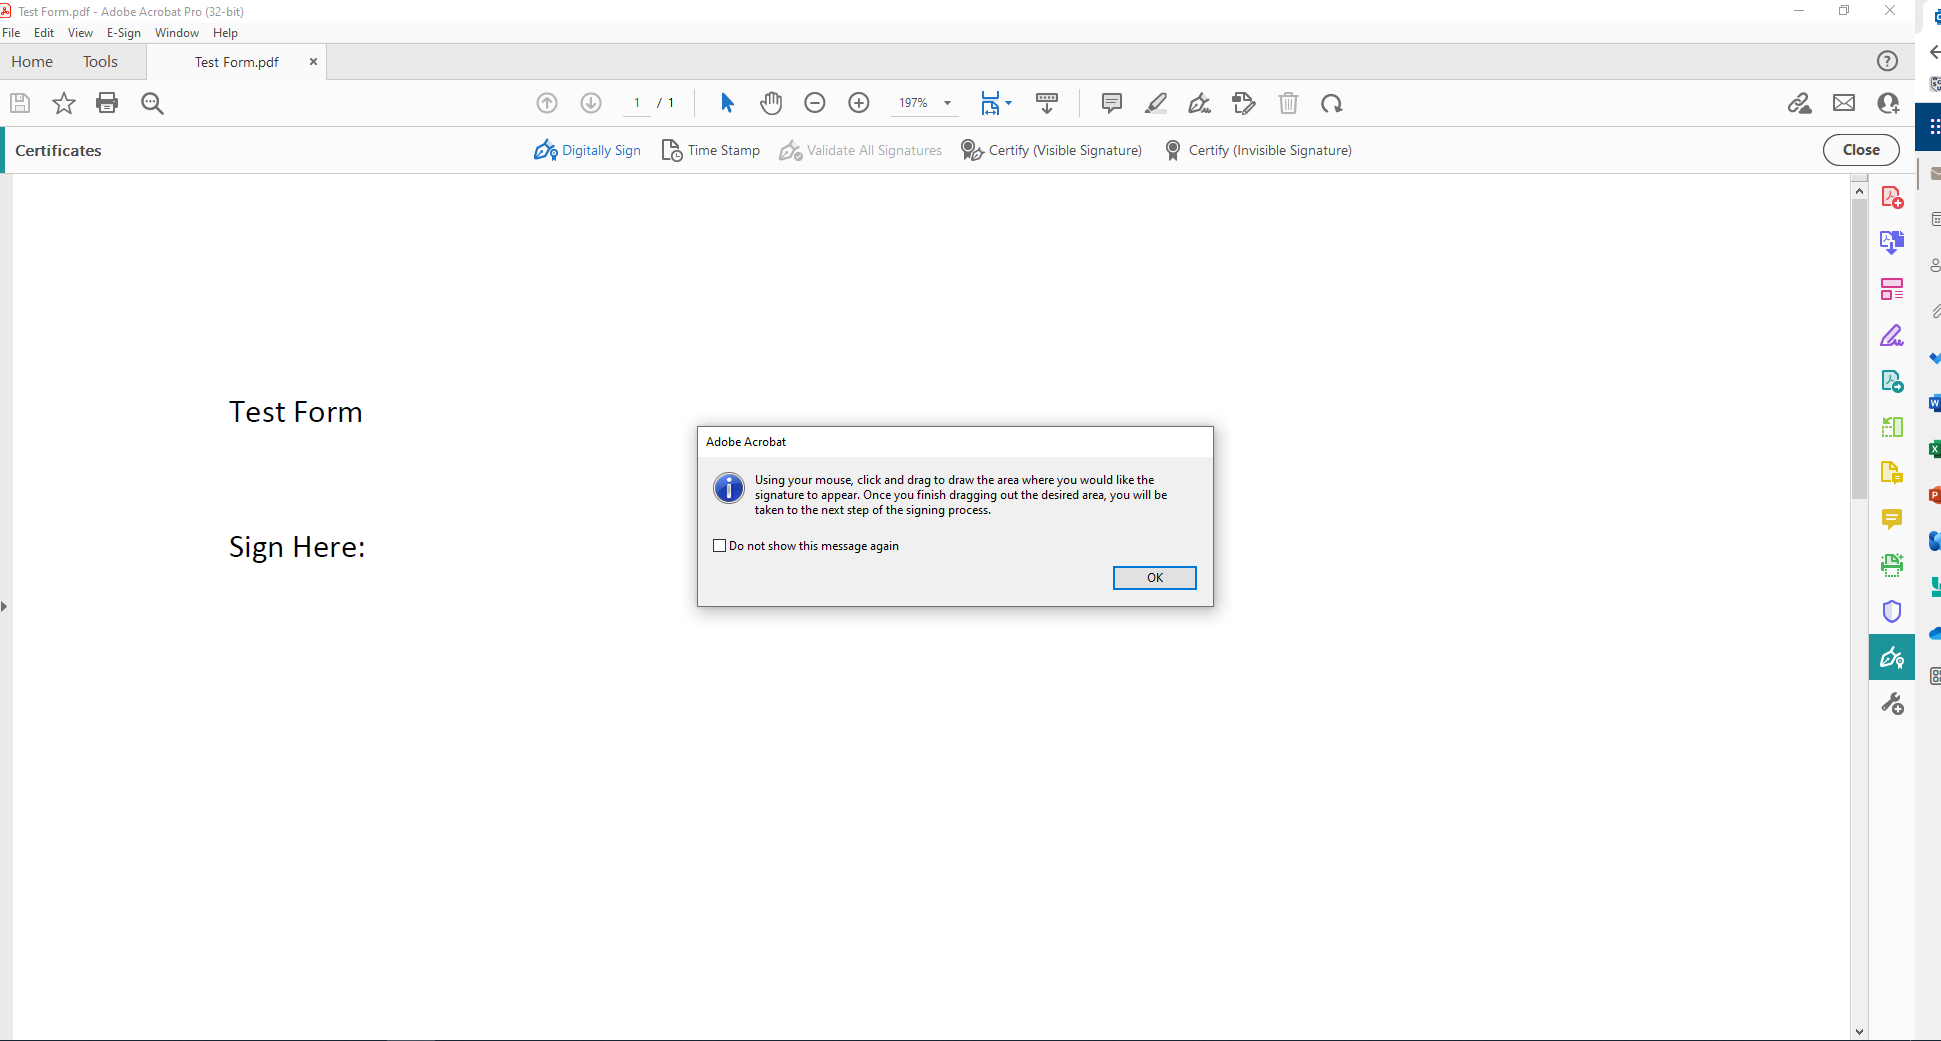
3. Your icon will convert to a textbox cursor after clicking OK. Click and hold the mouse button to drag and drop a text box over the signature field:
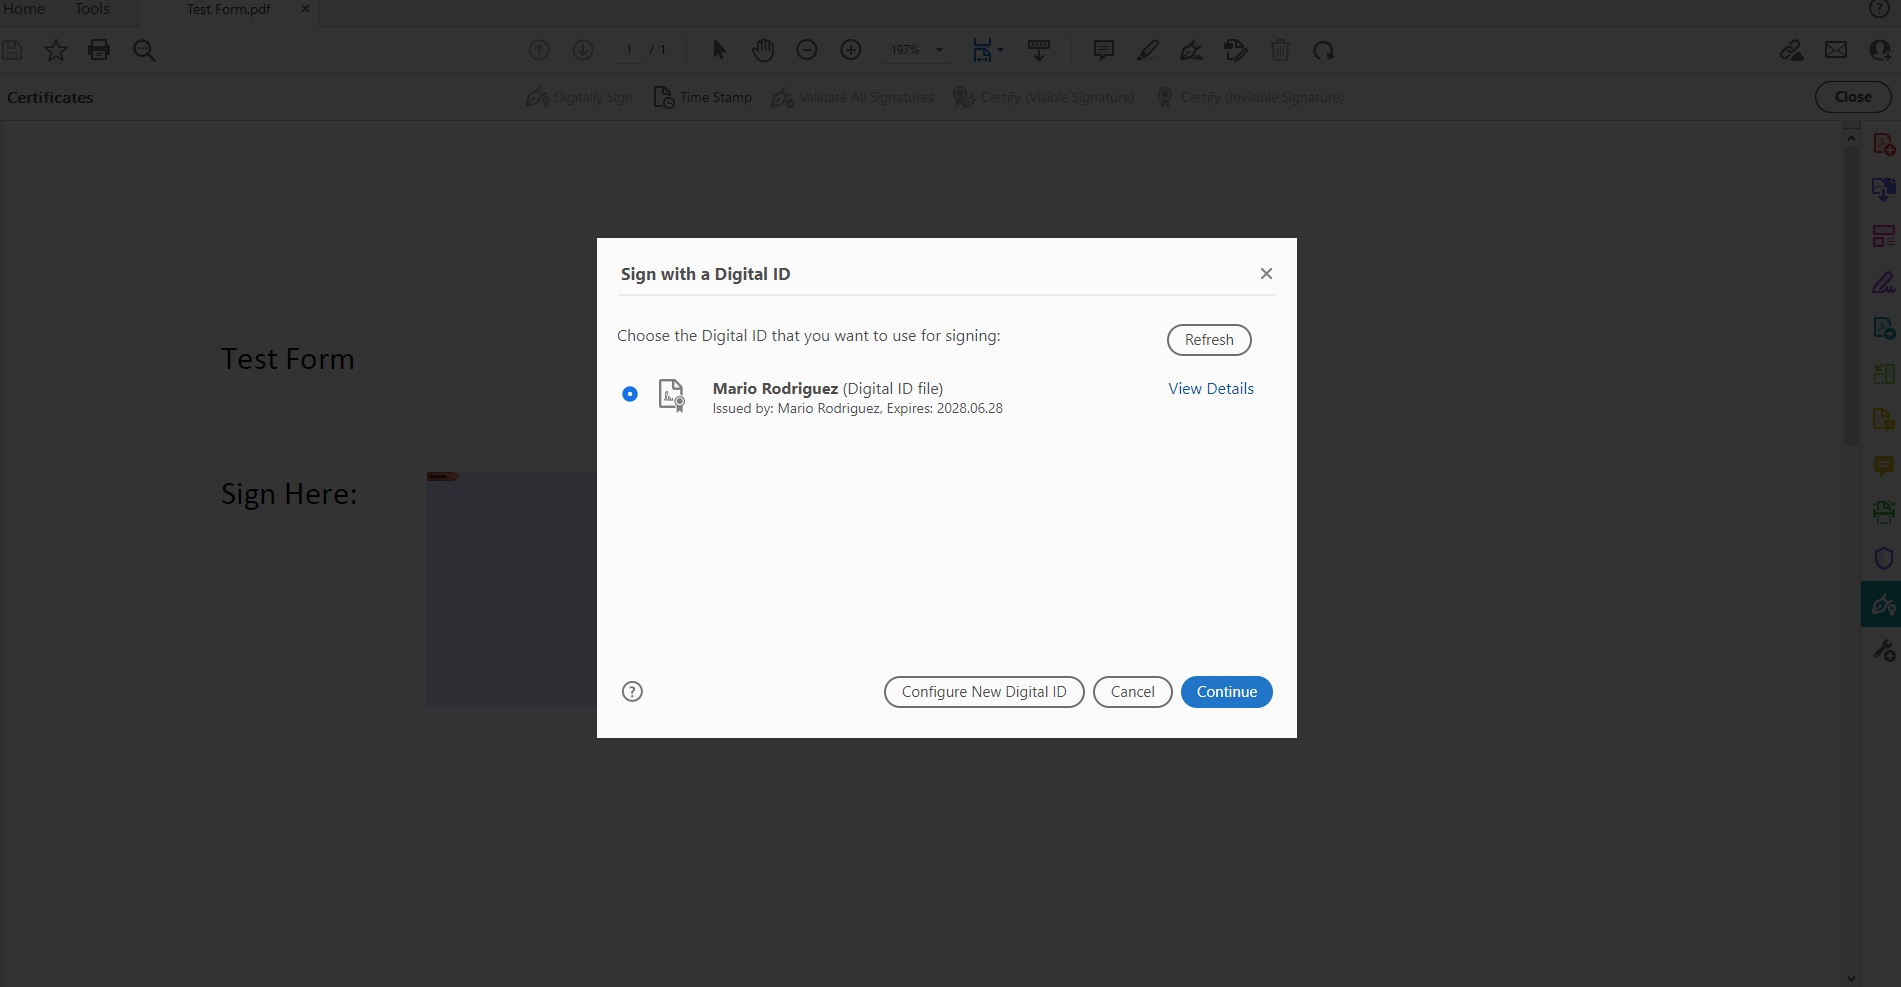
4. Choose your signature form the list and then click on Continue:
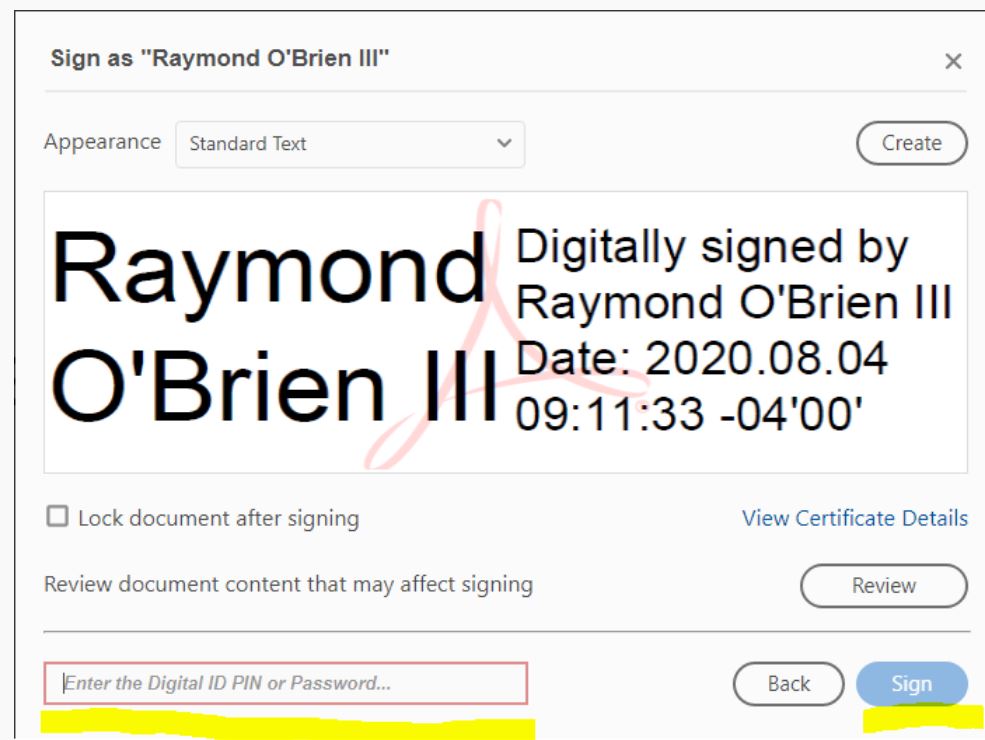
5. Enter the password that you used when creating your digital signature from above and then click “Sign” or simply click “Sign” if you are not prompted for a password.
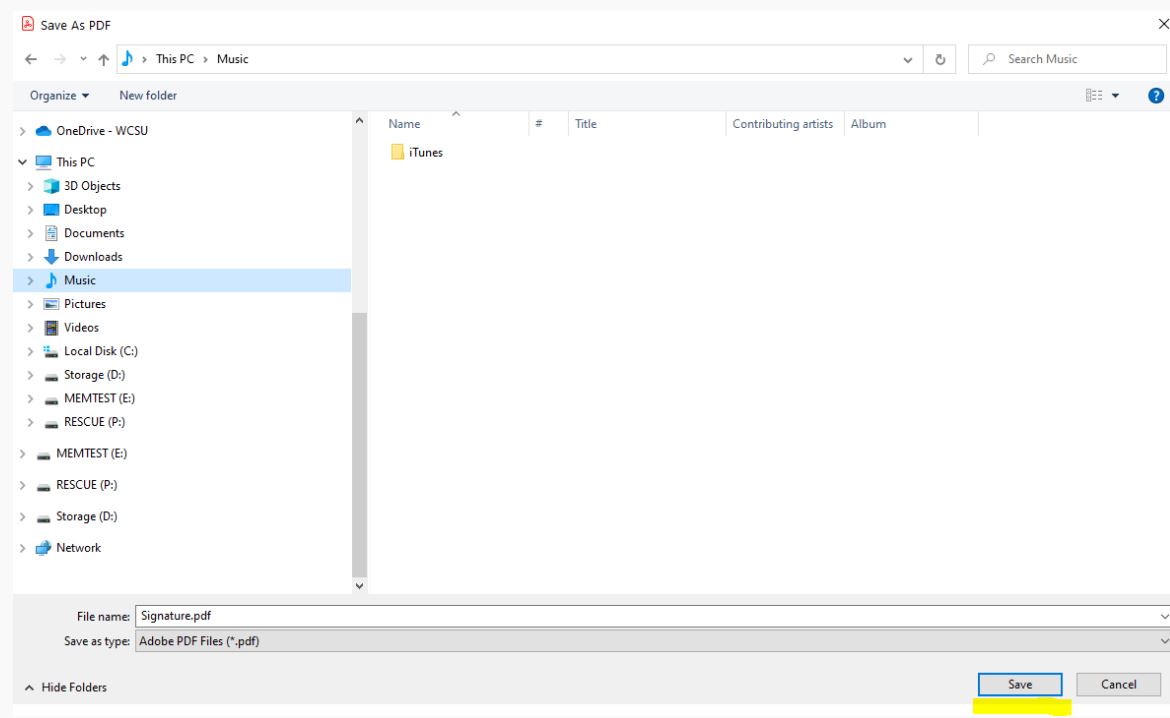
7. Choose a place to save the signed pdf and then click save:
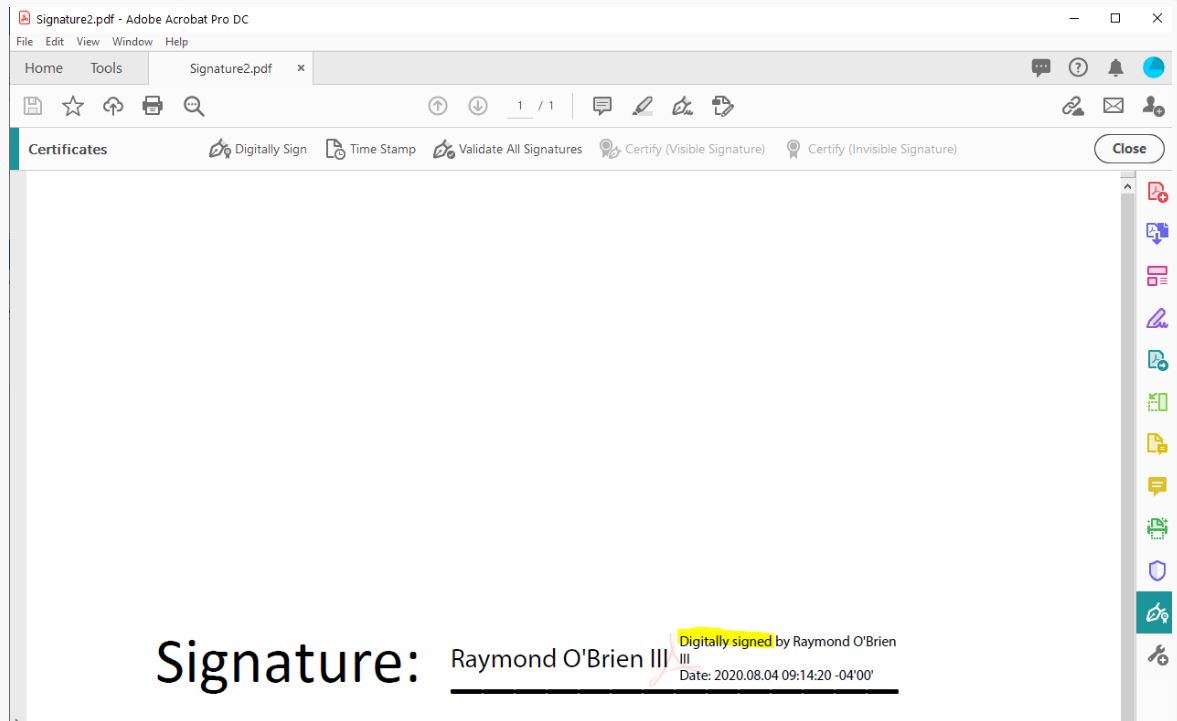
8. You will see the signature box now digitally signed: