Before you install Teams on your Mac, you must check to see that it is not already installed. You can do so by opening Finder, then checking through your Applications tab. If it is already installed, then you are all set! Otherwise, follow the directions below:
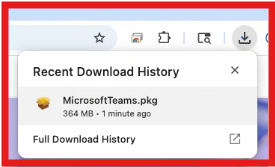
1. Click here to open Microsoft Teams download page, and click Download Teams for Mac:

2. Go to the location where you downloaded the Microsoft Teams installer and double-click the installer.
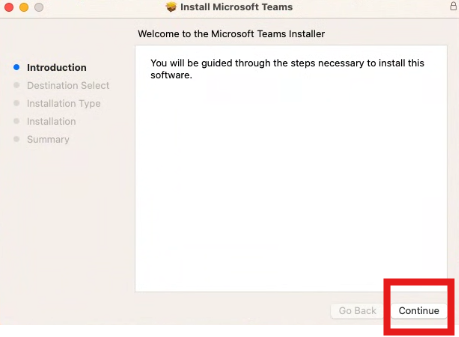
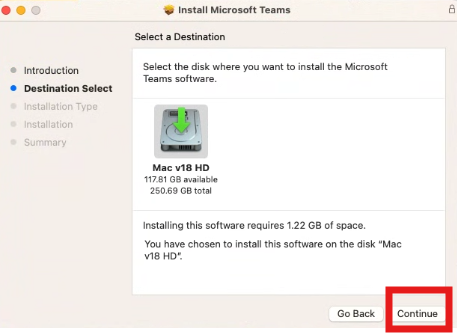
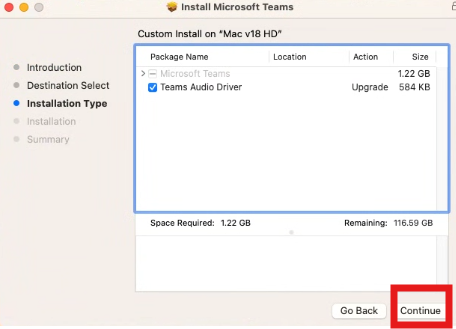
3. Click Continue, then Continue, and one more Continue again:
- Note: You may be prompted to enter your Mac’s password to continue installing
 4. Click Install:
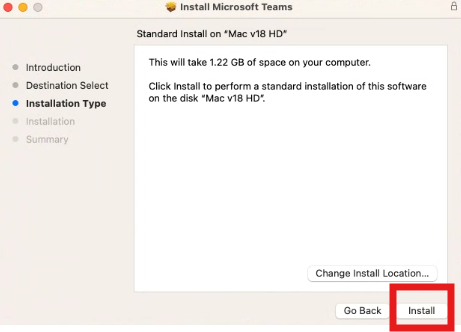
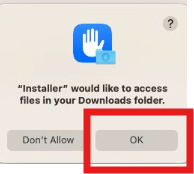
- Note: If you are prompted with “Installer” would like to access files in your Downloads folder, click “OK”:
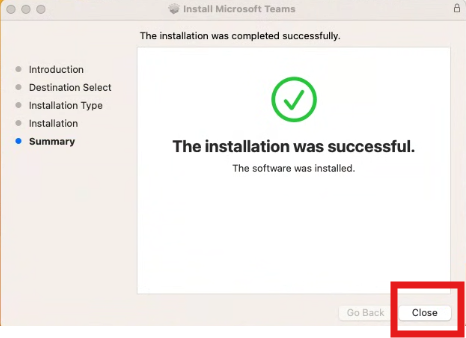
5. Click “Close” on the installation successful screen:
- Note: You may be prompted to remove Microsoft Teams Installer to Trash, you can click “Move to Trash”

6. Once the installation is complete, open Applications and click on Microsoft Teams if the application did not pop-up on its own.
7. When Teams is open, click the Sign in button and authenticate with your WCSU email and WCSU email password:

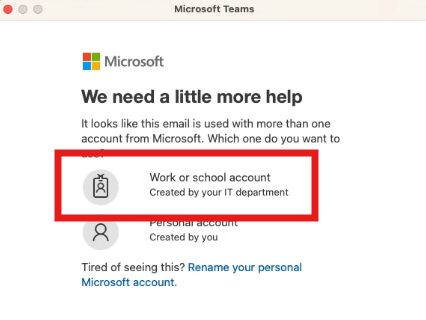
NOTE: If prompted for Work or school account or Personal Account, choose “Work or school account”:
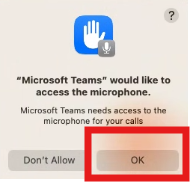
Note: It prompted with “Microsoft Teams” would like to access the microphone, click “OK”.