
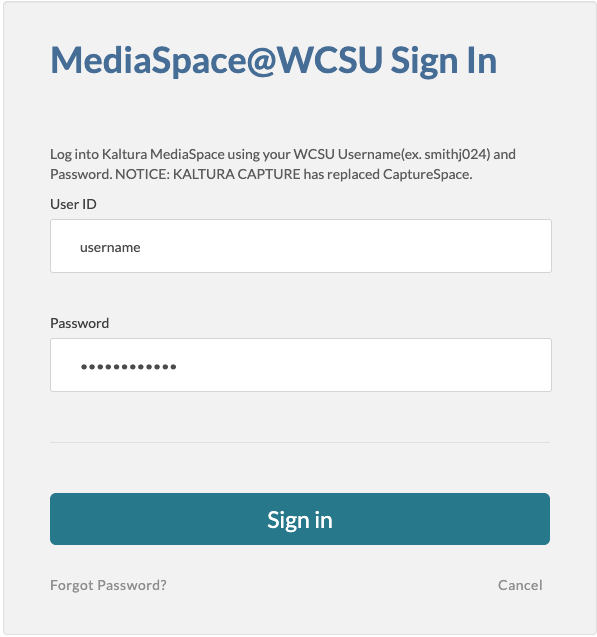
1. After logging onto your computer launch the Chrome browser and go to MediaSpace at https://media.wcsu.edu/ . Login in with your university credentials.
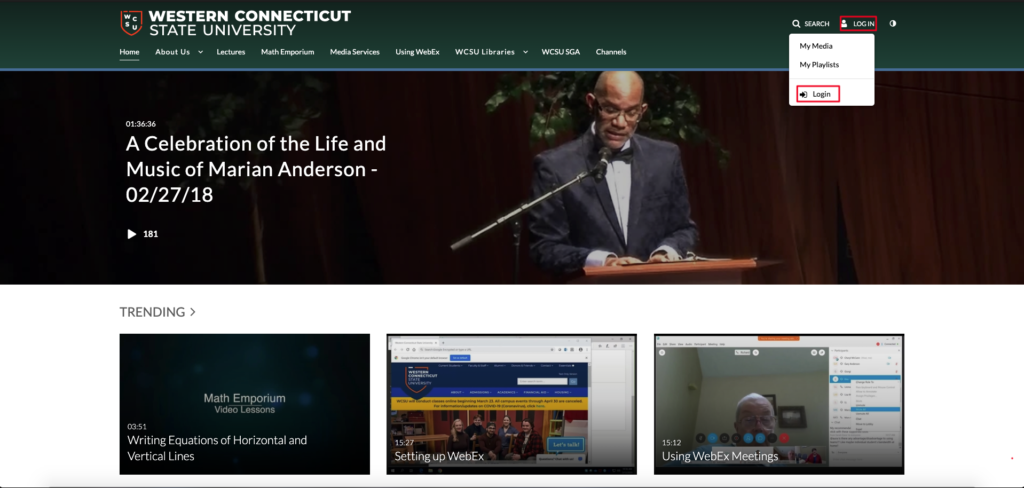
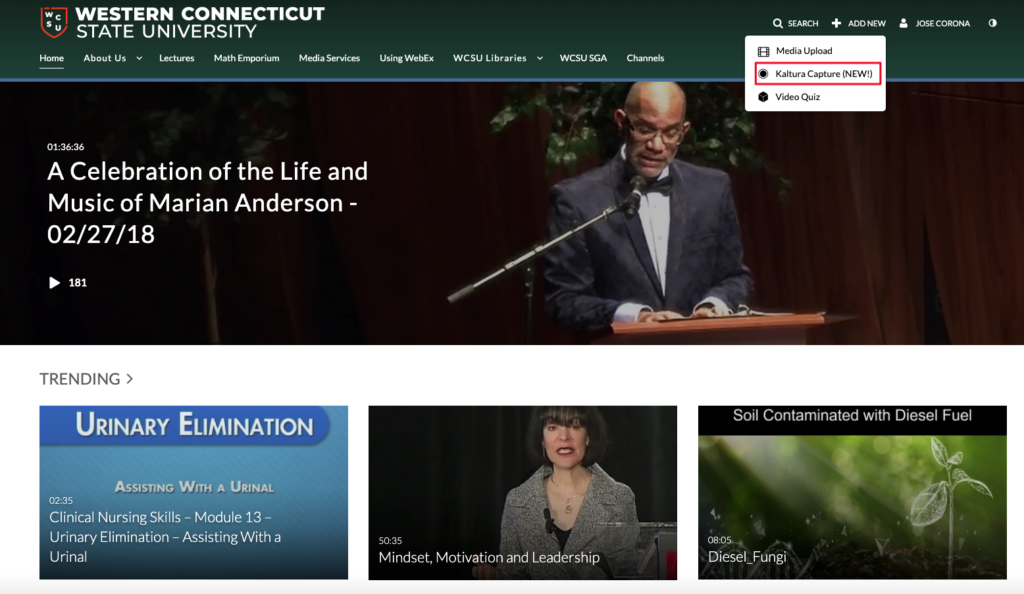
2. Once logged into media space, go to “Add New” and proceed to “Kaltura Capture”.
3. You will be given an option to choose to download the Kaltura CaptureSpace Desktop Recorder for both Windows and MAC. Choose download for Windows. The download will proceed to start. Once download is complete locate the Kaltura CaptureSpace install in the lower left corner of Chrome browser (example below):

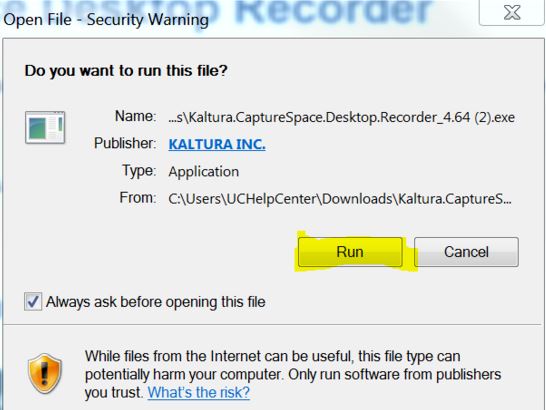
4. Left click the Kaltura CaptureSpace one time, and if presented with a security warning as seen below, click “Run.”
The software will run through a brief installation process. A message such as the one below will be seen when installation is complete.
-If prompted to reboot to complete installation, choose yes. Machine will shut off and turn back on. Sign back onto the computer. Launch Chrome web browser again and go to https://media.wcsu.edu/. Log back into https://media.wcsu.edu/ with your university credentials.
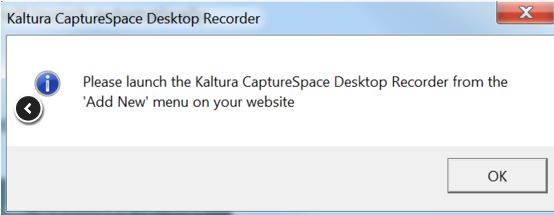
5. Launch the program by clicking “Add New” and then “Kaltura Capture” again.
You will be asked to open Kaltura. Click on the open prompt as seen below. After a minute or two you will see Kaltura load.

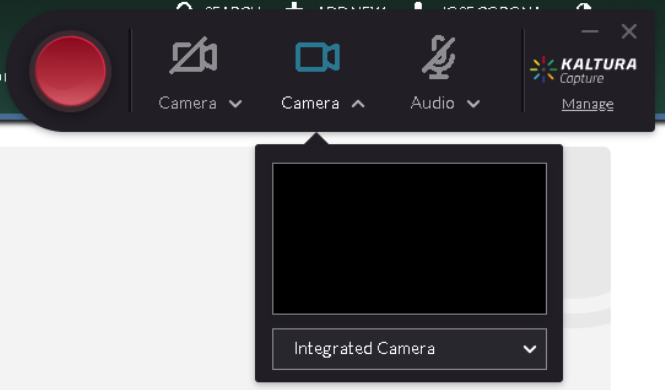
6. Look for a Kaltura Pop-Up Window in the right hand corner
*Note: If at any point you’re having trouble with the installation of Kaltura please call our Service Desk at 203-837-8467, or by email at requestit@wcsu.edu or through the self-service portal https://wcsu.samanage.com.